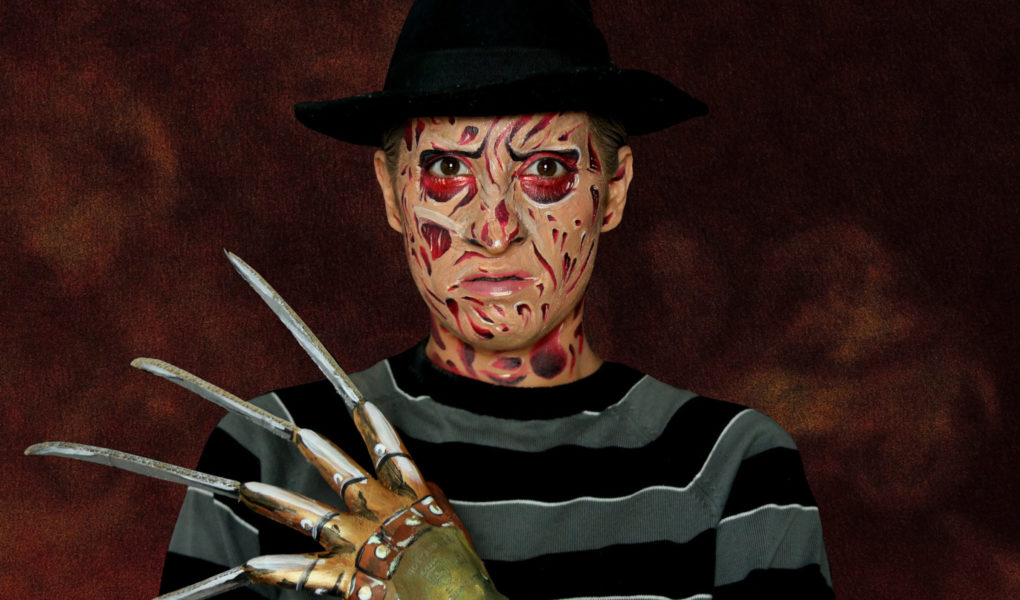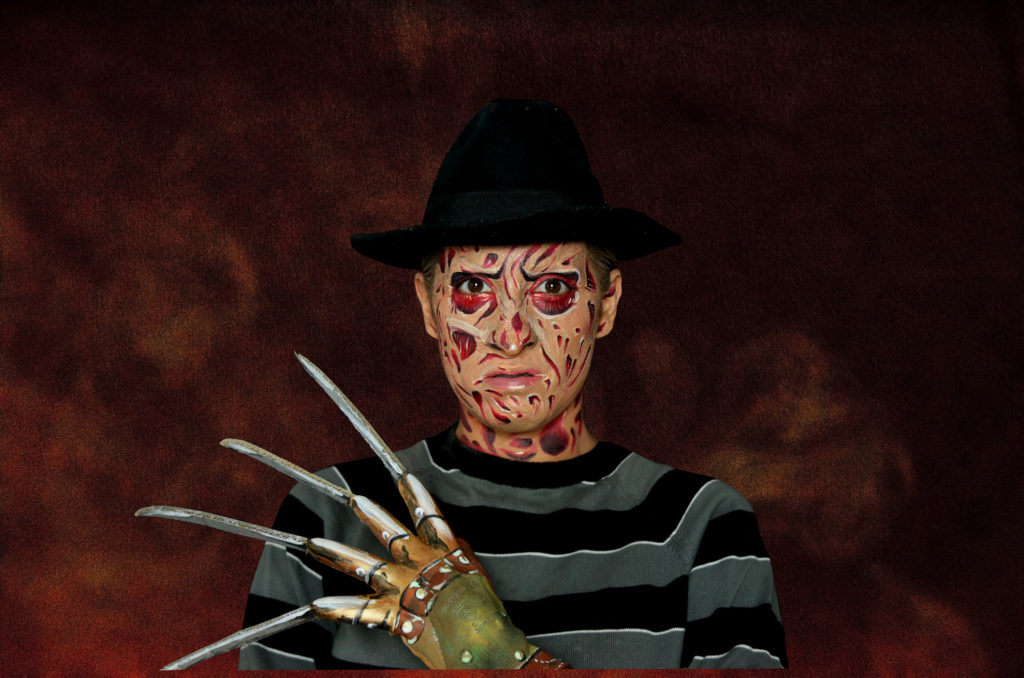
You want to bring classic horror movie Freddy Krueger to life? Then you have come to the right place =) I will show you an easy way to look just like the burnt up murderer.
Let’s start with a pictorial, shall we?
Step By Step
These are the main steps for my Freddy Krueger transformation and I will break them down for you

Step 1
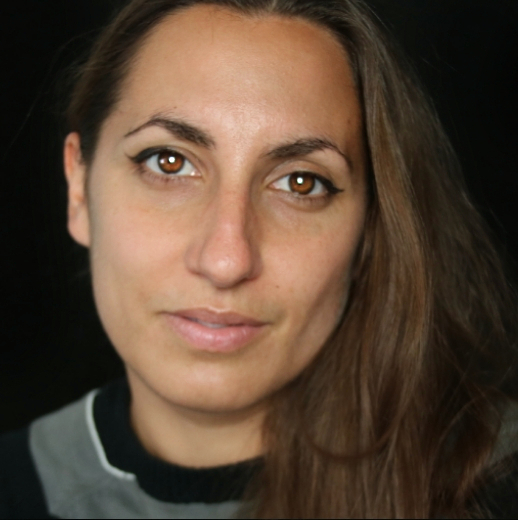
Be your natural beautiful self
Step 2

Freddy’s eyebrows are half burnt and gone so in order to get that finish you will have to block out your own eyebrows. To cover my eyebrows I simply use a gluestick and compact powder. Brush your brow first with a brow brush and then apply a layer or gluestick on it (one eyebrow at a time so you have complete control of how fast the glue dries). Then with your finger, brush the eyebrow up and flatten it against your head. Repeat if you think there’s not enough glue. Note : I use my saliva to flatten them more easily but if you’re going to do that make sure you don’t eat glue, ok?
Once you’ve flattened your eyebrow and brushed it up, you want to use a sponge and compact powder and cover the brow with it so you obtain a flat and smooth surface. I usually apply two coats of glue and two coats of powder because my eyebrows are really dark and thick.
Step 3
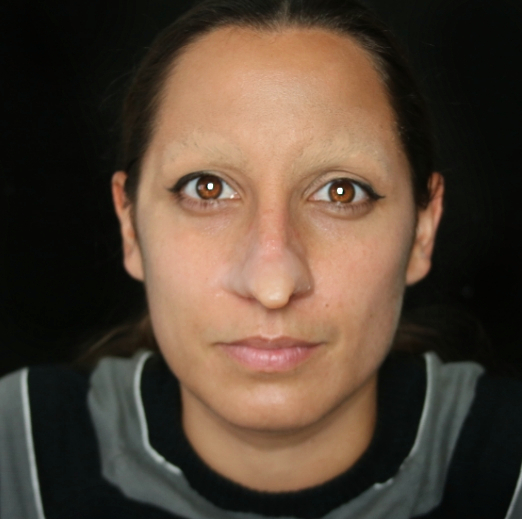
Freddy Krueger’s nose is long and pointed so if your nose is round like me you’re going to have to shape it with wax. If you don’t want to bother it’s fine you can give your nose a different shape just with a little bit of contouring but I won’t be using this method here.
I find wax very difficult to use and this is one of the only makeups that I’ve done that actually has wax in it so forgive me if I suck at explaining how to make a nose out of wax lol. Basically you grab the wax and work it with your fingers until it’s softer and you can give it, say, a ball shape. Be careful, wax can get too soft and very sticky (and hard to work with lol). Once you’ve shaped your wax into a ball put it on the tip of your nose and flatten the edges on your nose so they blend in with your skin. Work the tip very delicately until you get this pointed and long nose.
Step 4
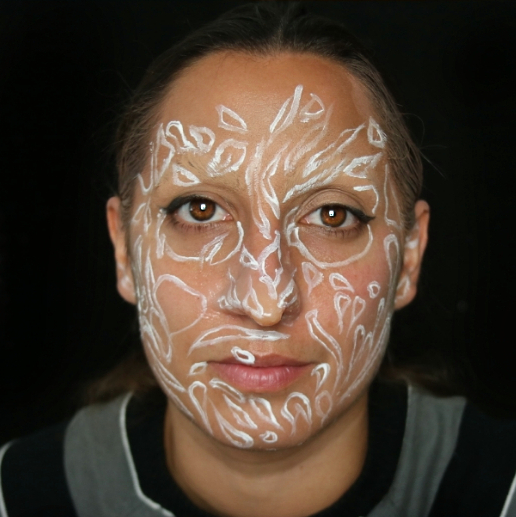
Here you’re going to start creating all his scars and burns. I first drew all the shapes with a white pencil and then I applied liquid latex over the white. You want to create many burns, in various sizes and shapes. Make sure you have them everywhere over your face and make them bigger under your eyes. Note : Latex, once dry will look like skin so it will give a more realistic and freaky finish !
Step 5
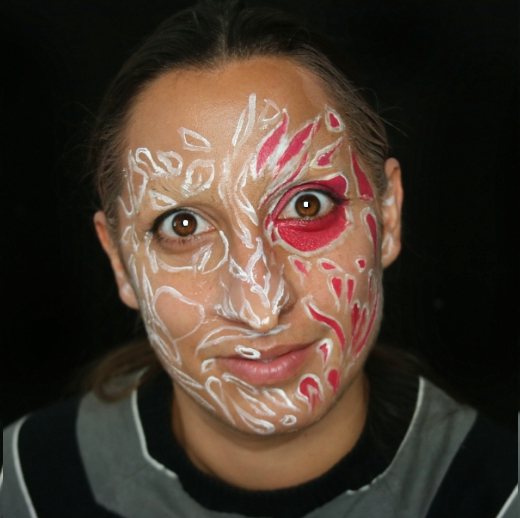
Now you’re going to fill in all the burnt up skin with red paint
Step 6
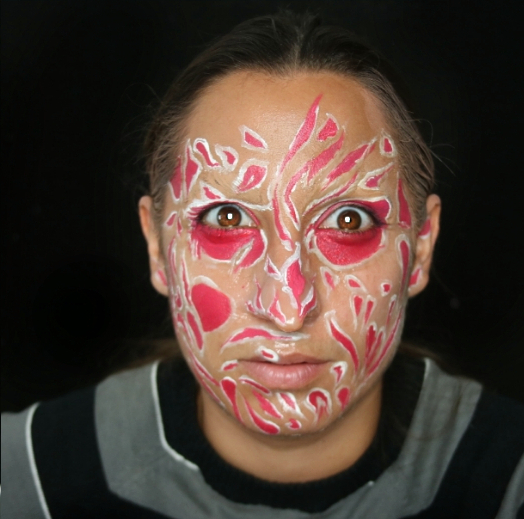
Once you’ve filled all the wounds with red paint you are going to put on foundation everywhere in between. This step took me a long time because the areas between all the burns are quite small and I had to use a little brush to put on the foundation so if you want a quicker way to do this you want to first put on the foundation and then draw all the little burns. The latex should still glue on your face but I can’t say for sure because I’ve never done it this way… so good luck whichever way you do it! =)
Step 7
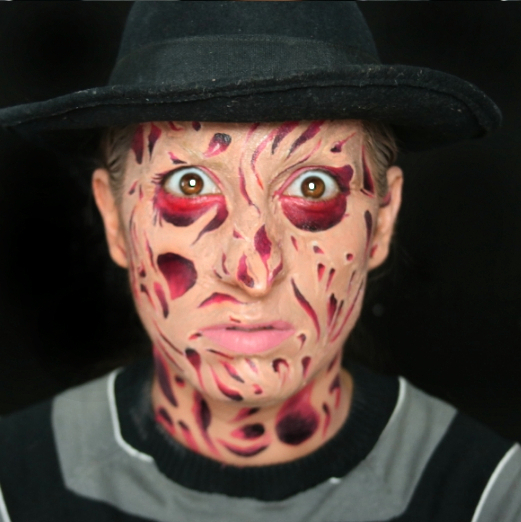
To give more dimension and realism to your burns you’re going to use black eyeshadow and apply it either at the top or at the bottom of each wound. You want to make the burns look like they’re deep, like your skin has actually come off your face. Use a flat brush, put on a little bit of black eyeshadow on the edge of the wound and brush it down (or up, depending where you put it). Work in slow and soft strokes so you get a nice blending finish.
If you have a black borsalino type hat, do wear it ! Or get your Freddy Krueger costume hat on amazon
Step 8
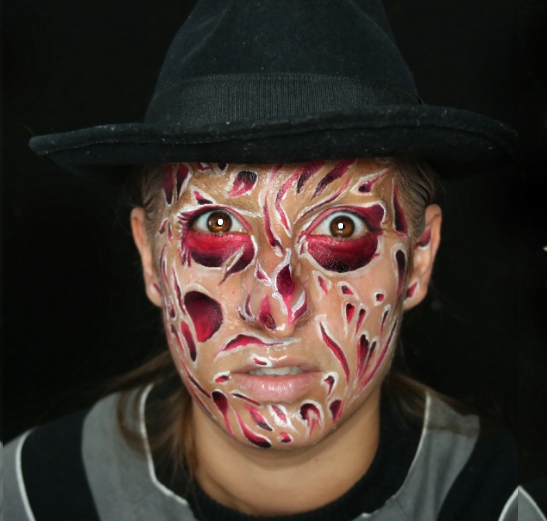
For even more realism and depth you’re going to highlight the outside of the burns with anything light (light cream concealer, white paint, white eyeliner). You can also highlight inside the wounds and give a muscle texture to the skin by drawing super thin white lines over the red paint. But if you just want to get it over with already, stick to the highlight outside the burns 🙂
Step 9
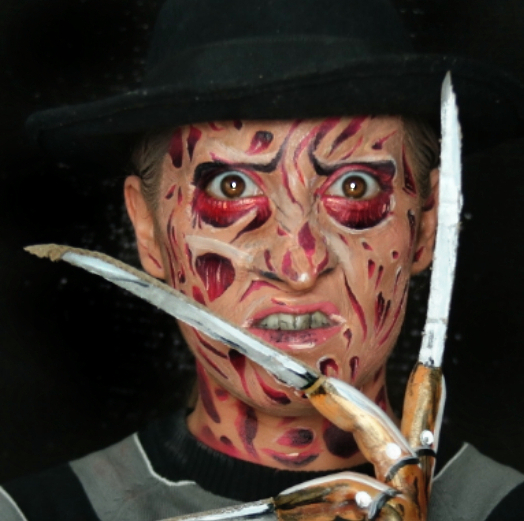
For the glove you can either buy one on amazon or make one. I did this makeup at the last minute and therefore had to quickly craft the emblematic knife hand. I used an old gardening glove lol, cardboard for the fake knives, glue and paint :).
Video
A quick tutorial might make it easier for you to understand all of my above (sometimes-not-very-clear-all-right) explanations … =)
Products
And for those of you who want to use the same products as I did here’s the complete list :
Skin prep

– Embryolisse, Concentrated 24 Hour Miracle Cream (best cream ever, I love love love love it… it smells and feels so good and it’s super hydrating)
Eyebrows
– UHU Glue stick
– L’Oreal Paris, True Match Foundation Compact Powder
Face and Body
– Mehron, SynWax Synthetic Modeling Wax
– Graftobian, Liquid Latex – 1 oz Bottle – Clear
– Mehron, Liquid Face Paints – White ; Black ; Red
– Jane Iredale, PurePressed Eye Shadow, Ebony
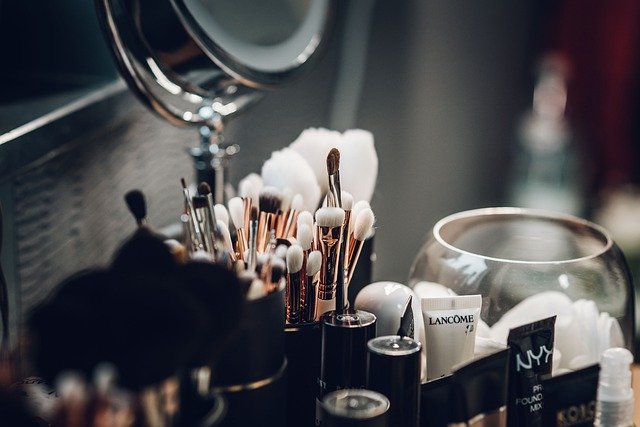
Brushes, sponges & beauty blenders
– Beauty Blender
– Makeup Brushes, Start Makers 32+1 Pieces
– Elixir Beauty 16 Sponges Non-Latex Oil Resistant for All Skin Types by Cala
Setting spray
– NYX Professional Makeup, Dewy Finish/Long Lasting Setting Spray
And that’s it for today ! If you’re not sure about Freddy Krueger being the right makeup for you, check out some more Halloween Makeup ideas !
And I will see you soon with another makeup tutorial ! =)
Take care and lock the door tonight 😉
