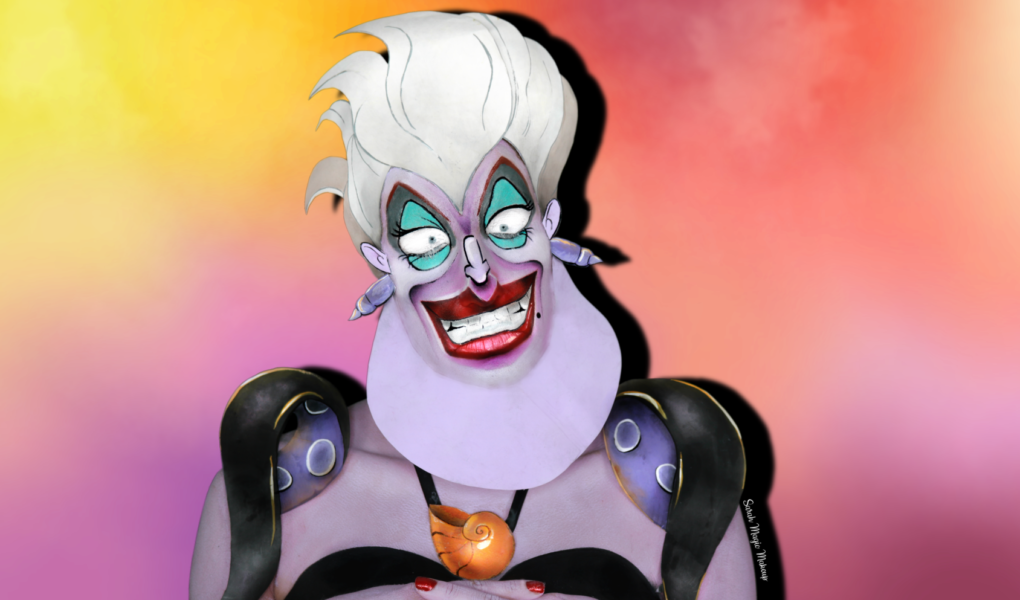
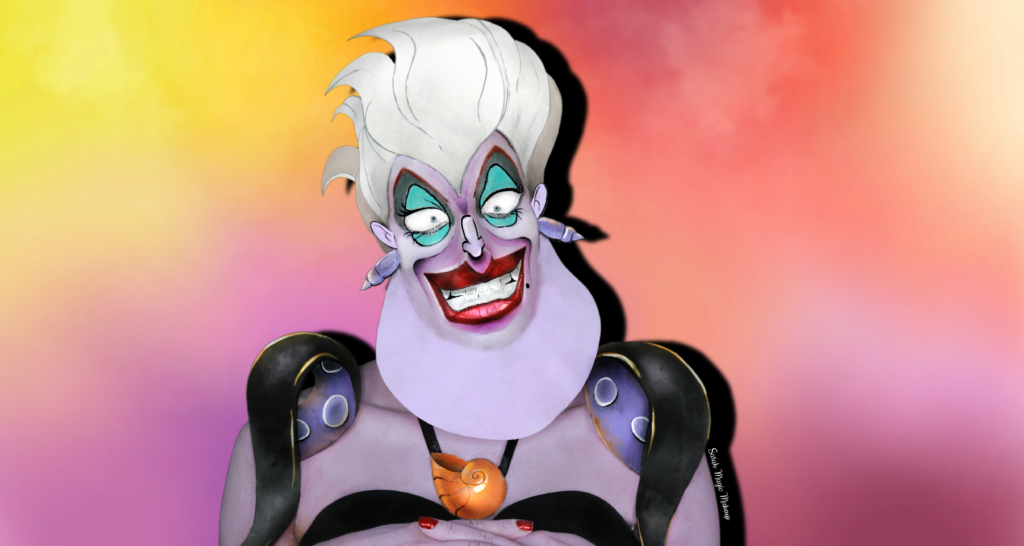
Welcome to my Ursula Makeup Tutorial, #5 of my Disney Villains Makeup Serie !
Ursula, the sea witch, took me about 7 hours, but that’s mostly because I ramble a lot during my videos lol and because gluing the tentacules gave me a harder time than I’d had anticipated…
Here are my four other Disney Villains looks so far : there’s Scar, Hades (my personal favorite), The Old Hag and Jafar. I’ll be doing 9 in total so make sure you follow me on instagram if you don’t want to miss the next 4 ones !
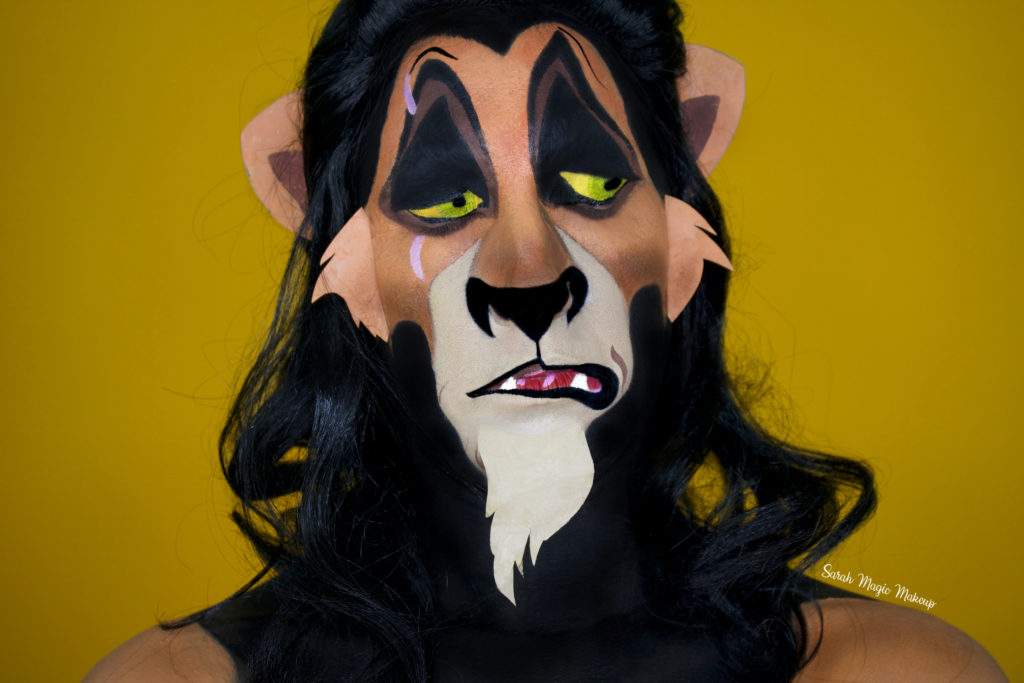
Scar 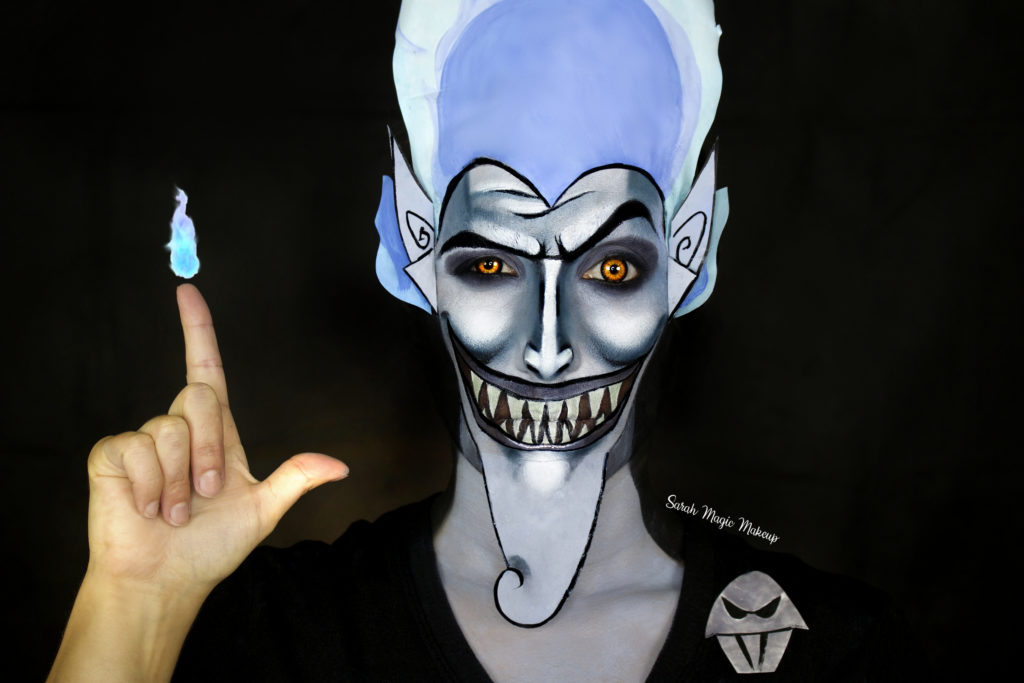
Hades 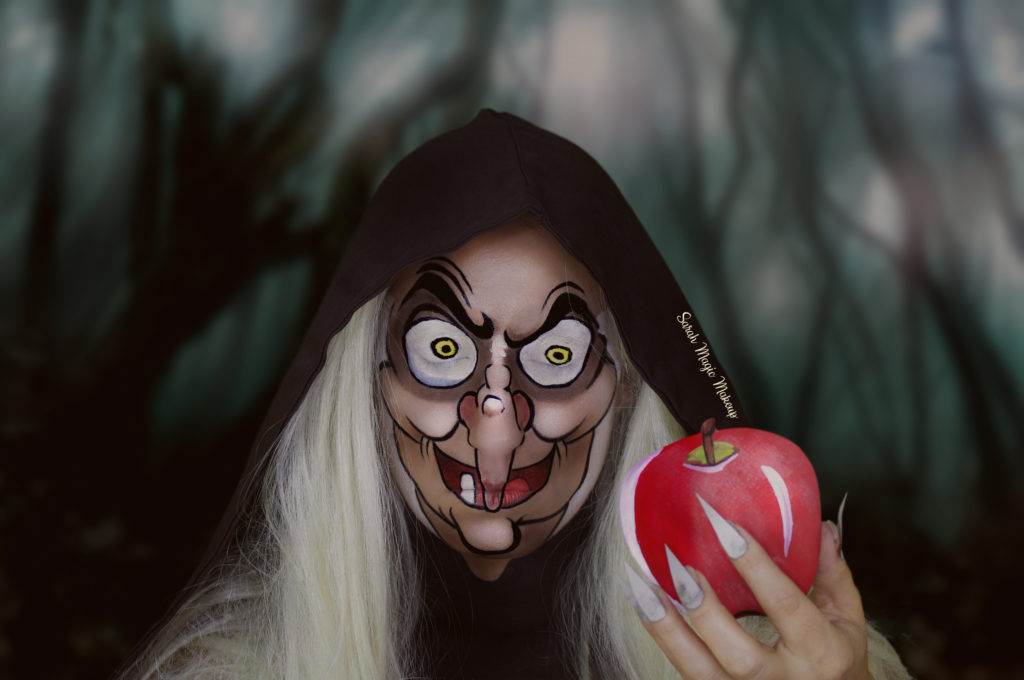
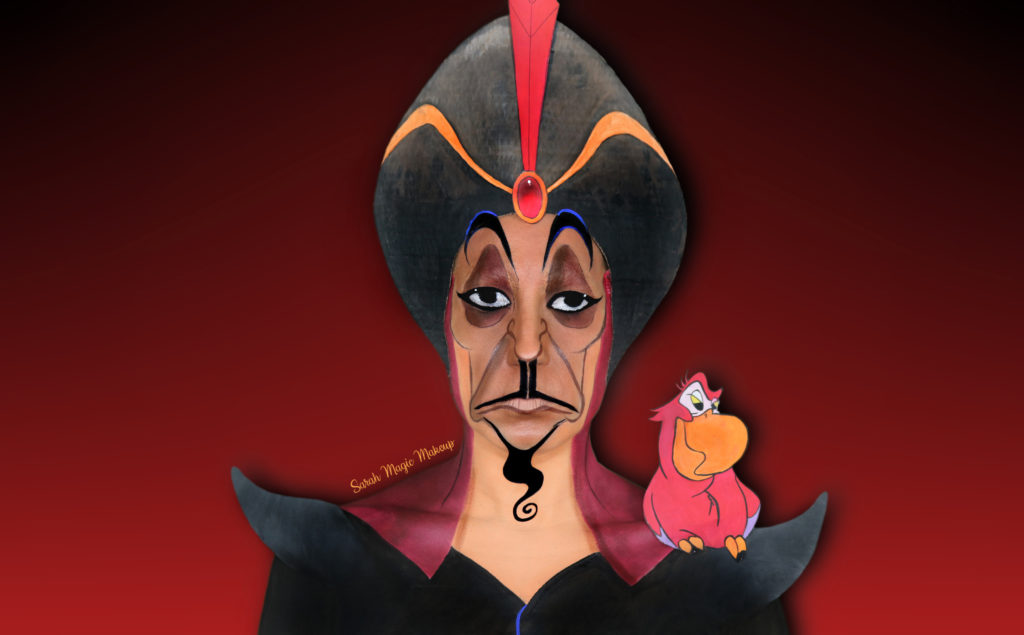
Step by Step
Now, beautiful souls, let’s take a look at the transformation process, shall we? =) I made my usual pictorial
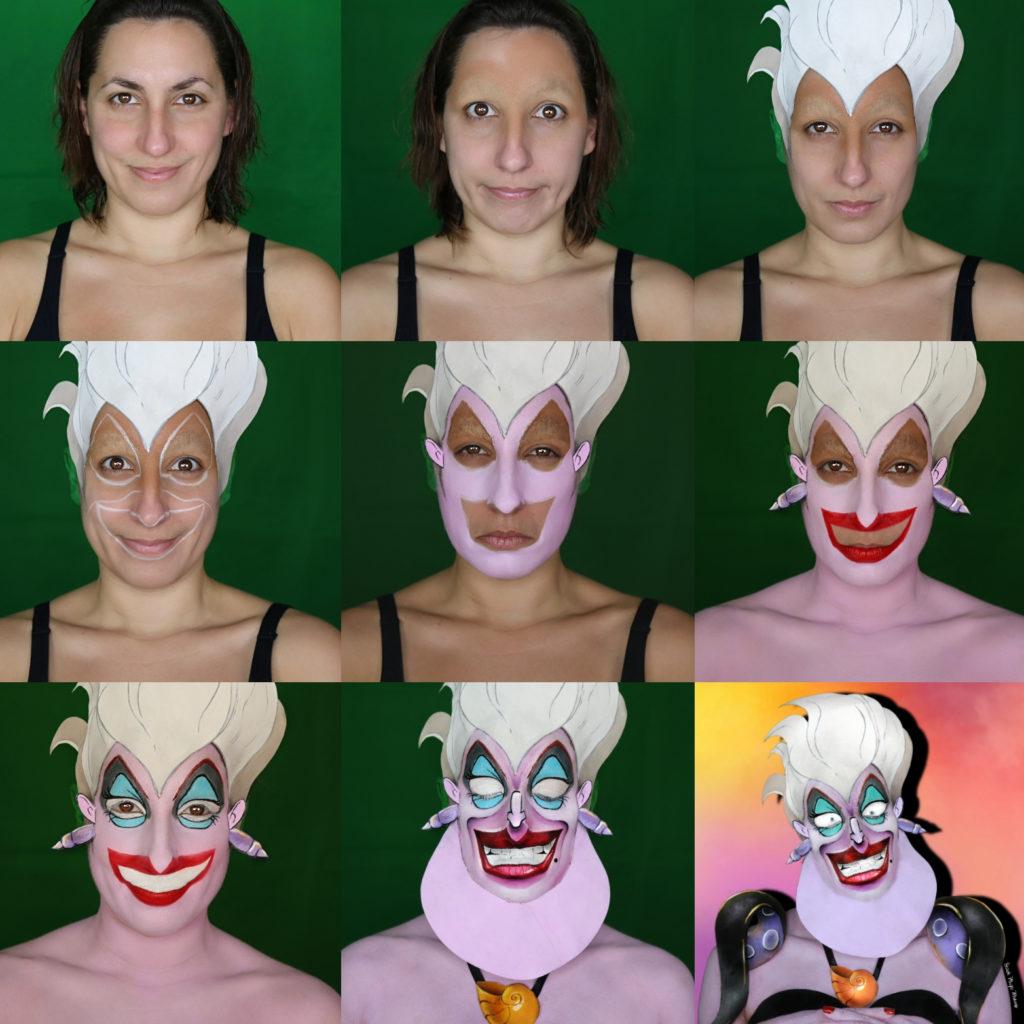
I’m going to break down the 9 steps for you but I’ll also include a little tutorial further down, for those of you who like it better live !
Note : all my props (hair, ears, earrings and tentacules are made of paper. The shell necklace is made of worbla) You can find Ursula’s accessories on amazon, such as her necklace if you don’t want to make props.
Step 1
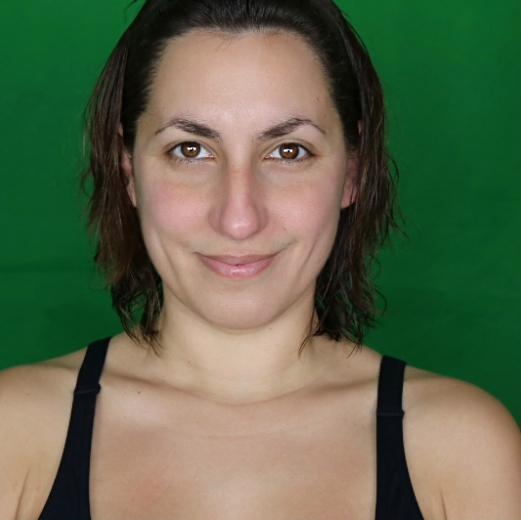
Be your natural, beautiful self.
Prep your skin with moisturizer (and primer if you want the makeup to last longer)
Step 2
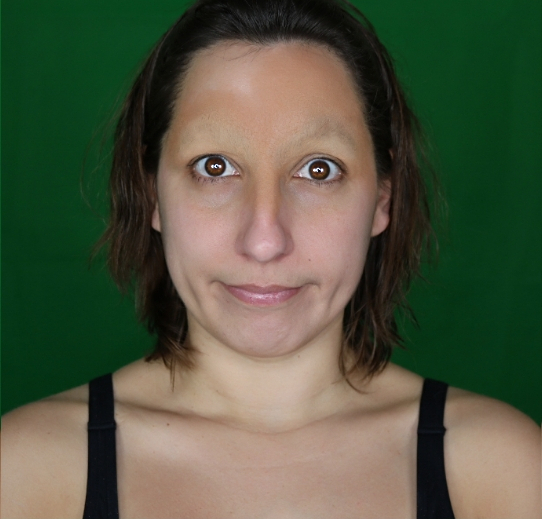
Block out your eyebrows, so you can paint over them.
To block them out I use a gluestick and compact powder (see video further down)
Step 3
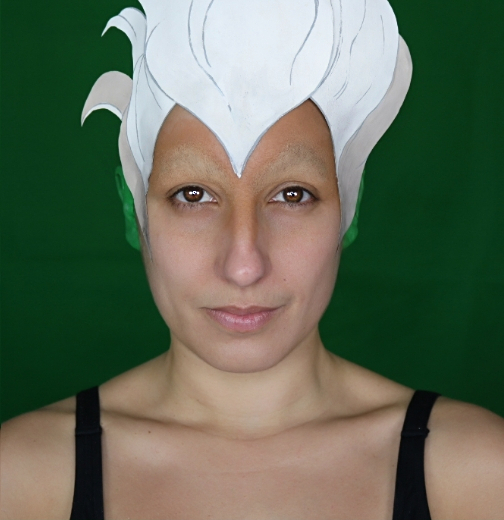
Glue Ursula’s emblematic haircut on your forehead (avoid the hair, please, otherwise it WILL hurt when you take it off) or if you’d rather wear a wig by all means do. You can also dye your hair with temporary hair color sprays … it’s entirely up to you. I’m just a sucker for props lol
Step 4
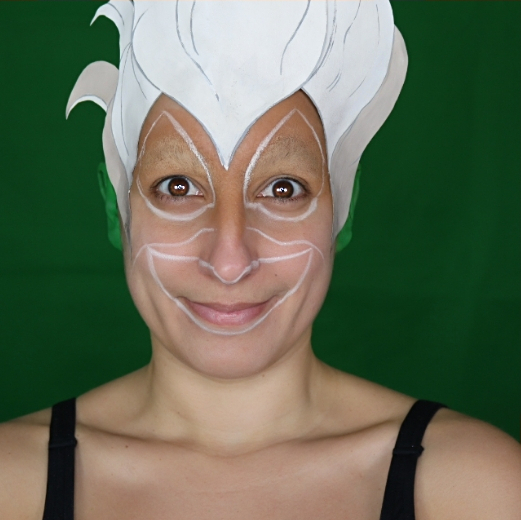
With a white pencil, trace the contours of the face (basically the eyes and the huge mouth. I also drew the two cheek lines to help me later with the nose)
Step 5
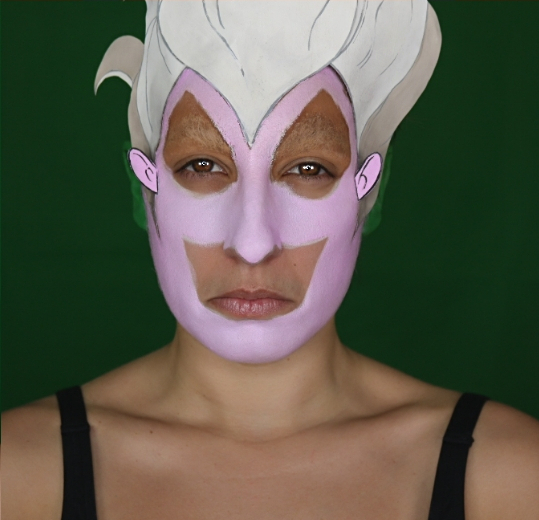
Glue Ursula’s ridiculously small ears lol and start painting your face light pink/purple (depending on which reference photo you’ll use). Leave out the mouth and eyes areas.
Step 6
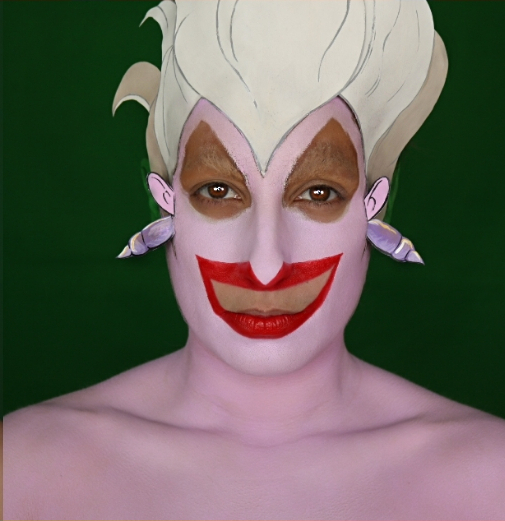
Glue the earrings (or buy real ones if you don’t like being covered in paper 😉 )
Paint the lips red, either with a matte liquid lipstick or with facepaint. Make sure you leave room inside for the fake teeth.
Step 7

Paint the teeth with white paint.
Paint her big eyes. You want to start with your lid and under your eyes : put on a primer and apply white eyeshadow over it OR simple paint your lid and under the eyes with white paint.
Then paint her big lid light blue and also a crescent moon under the eyes. You will then add a medium grey above the blue and finish with the black lashes and brown eyebrows. For the lashes I used a black felter tip eyeliner and for the brows, brown oil face paint.
Step 8
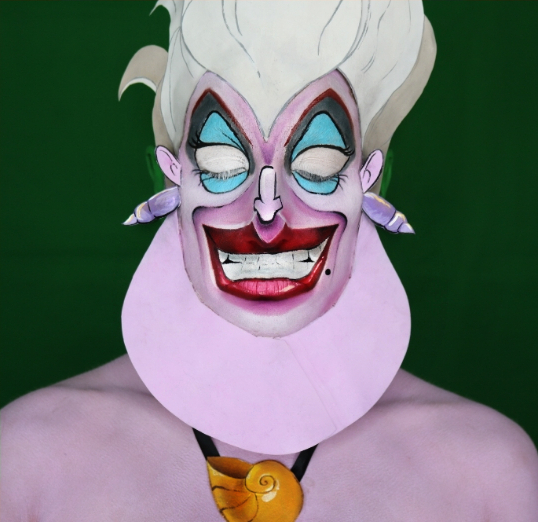
If you’re happy with step 7 you don’t have to add more detail to the face. But if you’re a detail freak like me you can contour a bit more and give your Ursula features more depth and realism.
I made the lips look a bit more 3D by shading them at the corners and on the bottom lip. I then highlighted them with first, white oil paint and then, white water-activated paint, for a shiny finish.
I added lines on the cheeks, to make her smile even creepier. Start with a dark pink eyeshadow and draw the shape of the line you want. I recommend you follow the bottom lips, curve the line at the corners of the lips and then go up towards the inner corner of the eyes. You can give more dimension to those lines by shading them (I used dark purple and black and blended them with the pink)
Don’t forget her small nose (I used black paint and highlighted it with white paint).
Don’t forget her mole on the side of the mouth (I used black paint too).
Wear your necklace and if you have one, a sexy black strapless dress. I didn’t have one so I painted a dress lol.
Step 9
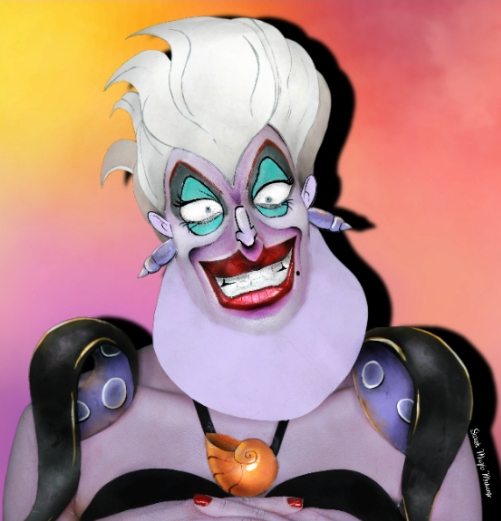
I decided to make tentacules because, well, ursula’s some sort of octopus/woman/witch, right? The tentacules you see on the above pictures are made of paper glued with spirit gum, but you can also wear a costume if you’re going to a party. My cheap paper props work just fine for pictures and videos =D
Video
Here’s a fast forward tutorial! I’ve also posted a fun removal of it on instagram, if you’re in for a good laugh. It’s in French but you don’t need to speak it to feel my pain as I peel off my skin and scalp myself lol
Products

Finally here are all the products I used to become the evil Ursula :
Skin Prep
– Pai Skincare, BioRegenerate Rosehip Oil

– NYX Professional Makeup, HD Studio Photogenic Primer
Liners & Crayons
– Me Now, Soft Eyeliner Pencil, White ; Fashion Color Lipliner Pencil, p130
– BYS Maquillage, 1 Day Tattoo Liquid Eyeliner Pen, Black (new favorite !)
– NYX Professional Makeup, White Liquid Liner (I must warn you, this products is not the best, it cracks so you have to apply several layers… or find a better white liner, really ^^ )
Lips
– Imagic Cosmetics, 12 Color Oil Bodypaint
Eyeshadows
– NYX Professional Makeup, Ultimate Multi Finish Eyeshadow Palette, ‘Smoke Screen‘ ; Aquaria Color Palette
– BYS Maquillage, Festival Eyeshadow Palette
Bodypaint
– NYX Professional Makeup, SFX Crème Colour Face & Body Paint, White ; Fuchsia ; Purple
– Superstar, Aqua Face Paint, White ; Line Black
– Mehron Makeup, Clown White Lite
– Kraze FX, Fundamentals 12-Color Palette
– Diamond FX, Facepaint, Green
Other
– NYX Professional Makeup, Eyeshadow Base, White
– Mehron Makeup, Spirit Gum Liquid Adhesive
– Makeup Revolution, Matte Fix Setting Spray ; ‘Bloodthirsty’ Nail Polish
– Maybelline New York, Lasting Fix Loose Setting Powder
– the original BeautyBlender
– Bioderma France, Créaline H2O Solution Micellaire Démaquillante
– Biguine Paris, Compact Powder, hâlé
I hope you liked my take on Ursula ! Let me know in the comments and see you soon with another makeup !


Wow,I must say you have done a very nice job on this article as it would be of great help to the public as it has been of help to me…….You work is really outstanding your choice of colours has really made this work spell out it true beauty, I would hope to see more interesting make up works like this.
thank you very much !
That is absolutely amazing! When I first looked, I thought that everything was Photoshopped! You are an amazing make-up artist and it was great to see the step by step way to do it. May I ask what you use for face paint? It’s just so creatively shaded that it looks like the real thing. I’ll now be watching your other videos!
Thank you so much!!!! It’s such an incredible compliment when people think my pictures are actually photoshoped !!!
The art of making the difference between contouring and strobing lies in the color palette. Within the technique of contouring a darker base, blush and bronzers on some parts of the face create an impression of depth, which means that the contours are more pronounced. The strobing technique works the other way around. Light shades and radiant pink or skin tones emphasize the area along the treatment, the root of the nose or the area below the eyebrows. The contouring technique loves shading, and the strobing technique loves highlifts.
that’s about right ! =)
Hello, I really want to first appreciate your effort in putting this great website together and writing this article. i am so amazed by the work you have done here. i paused and stared at the photos continuously as i try to reproduce the same thing. thank you for this great post.
thank you so much !
Wow I must say you are doing a great job here. At first when I saw it I thought it was drawing on paper or probably with graphics design software but then on a closer look and with what you said, this was actually made from paper and makeup. This is creativity right here. My kids would love this. I will show this to my daughter so she use it in school for her art project. Thanks a lot. You did a really great job.
aw thank you so much! I hope it gives your daughter ideas for her art projects !
Love
Sarah