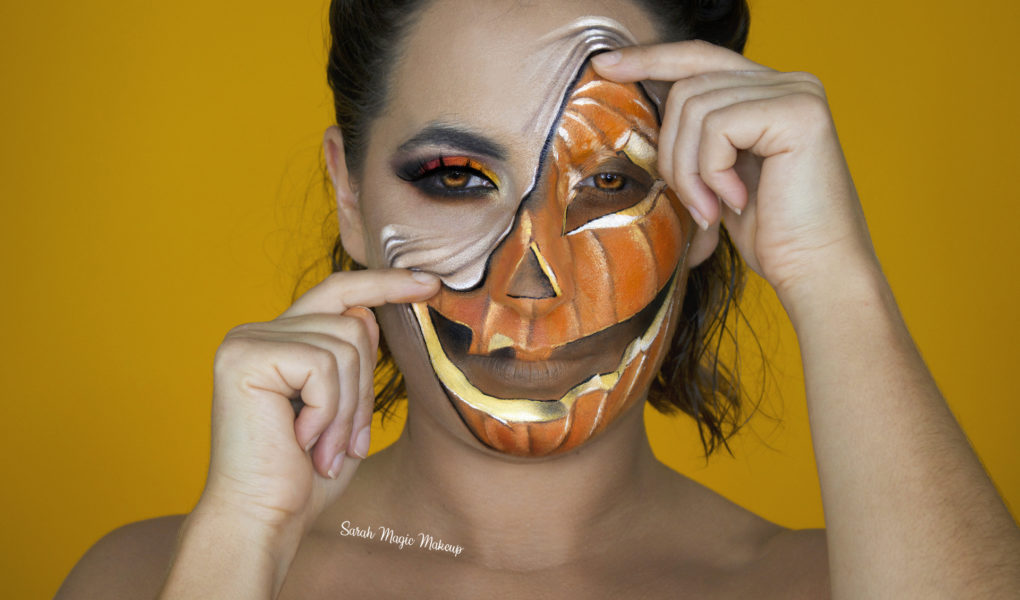
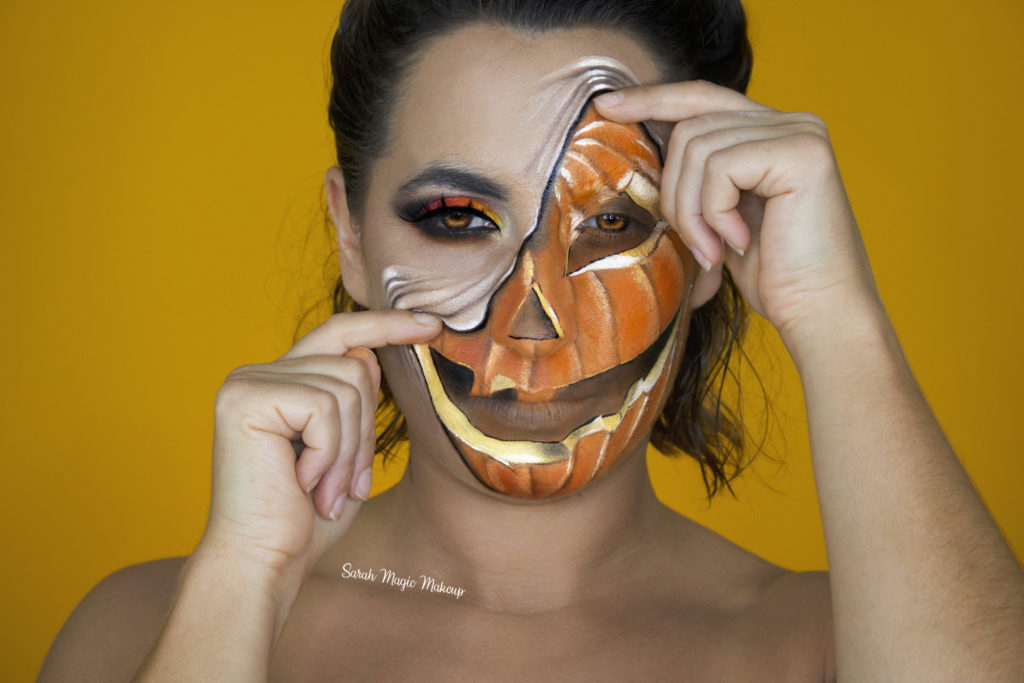
This is not your average pumpkin makeup tutorial… If you’re looking for something cute and classic, I’m afraid my fun and creepy pulled up skin Jack O Lantern will disappoint you … =)
But if you want to shake things up this Halloween, then keep reading !
This ‘pulled up skin pumpkin’ makeup is the 1st one of my 31 Days of Halloween Serie by the way and it was inspired by the talented Brenna Mazzoni and by Nikkie Tutorials’ cool pulled up skin demon !

But let’s get into the practicals, shall we?
Step by Step
Here’s a little step by step pictorial I made for you… I love looking at picture #1 and then at the last one. What you can do with makeup never cease to amaze me!
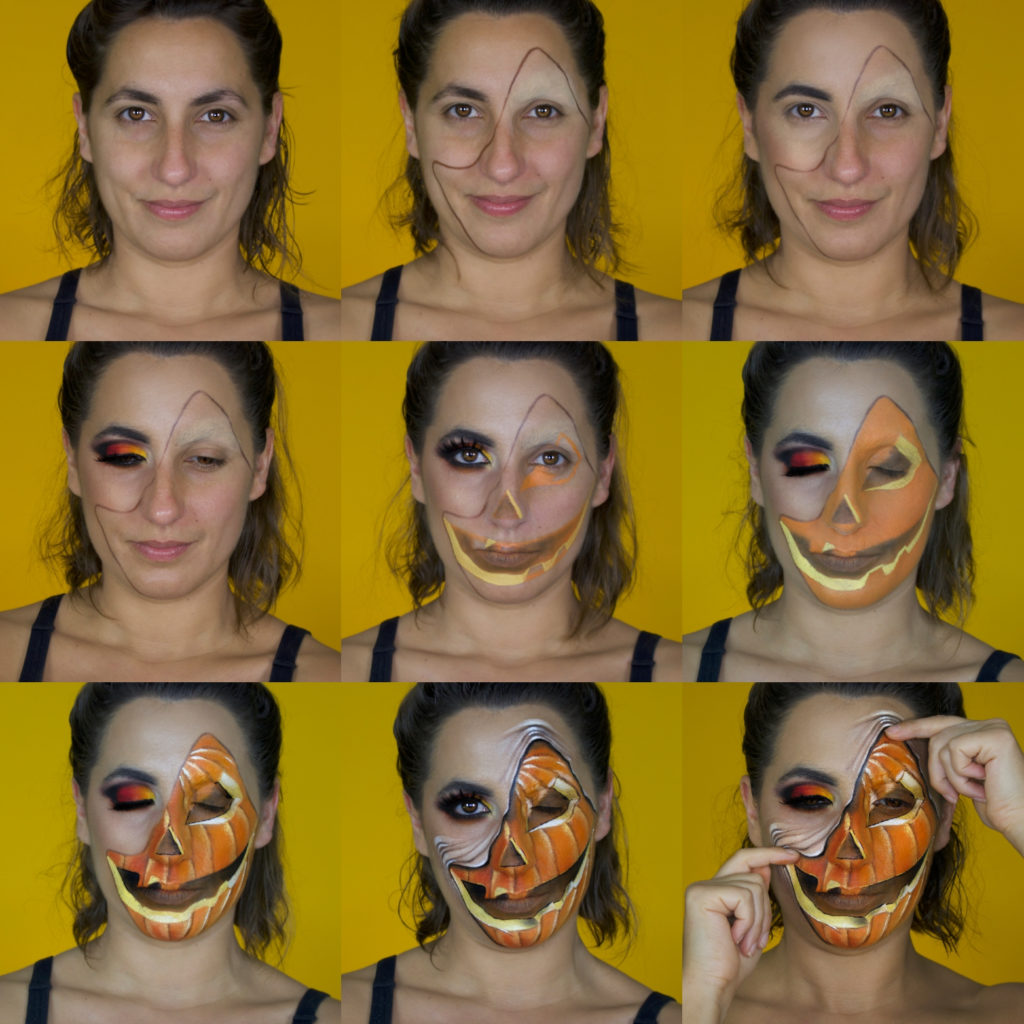
Now let me walk you through the different steps !
Step 1
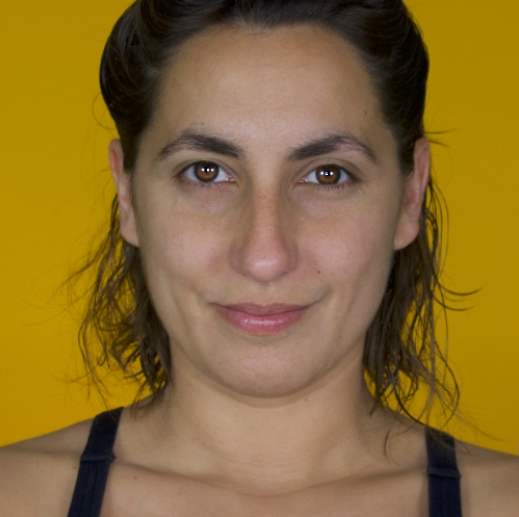
be your natural, beautiful self. Prep your skin with some moisturizer
Step 2
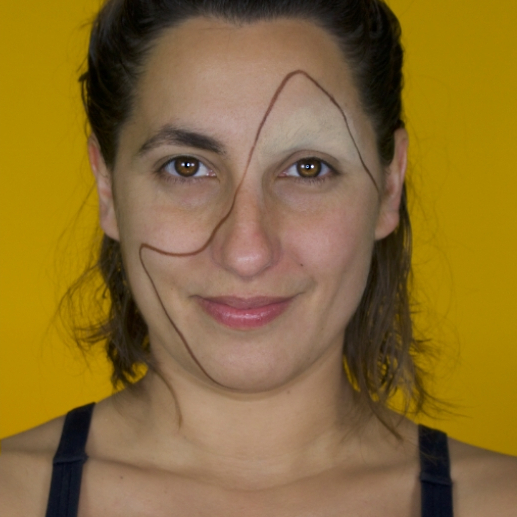
block out one of your eyebrow with a glue stick and compact powder. With a brown pencil draw the shape of your pulled up skin
Step 3
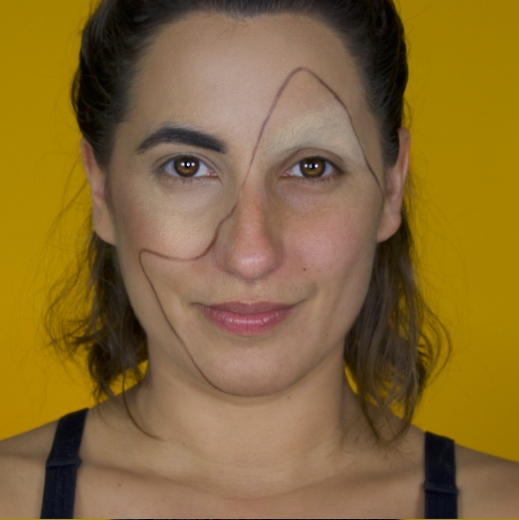
start with the beauty look. Put on some primer if you want the makeup to last longer, then foundation, contouring, highlighter, blush and if your eyebrows need some work go ahead !
Step 4
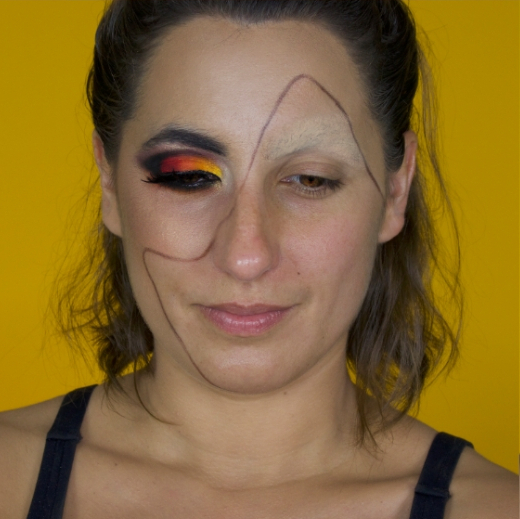
do your eye makeup. I used yellow, orange, red and black to get a nice warm gradient effect. Im wearing false eyelashes. If you need more help with the eye makeup, check out my youtube video further down !
Step 5
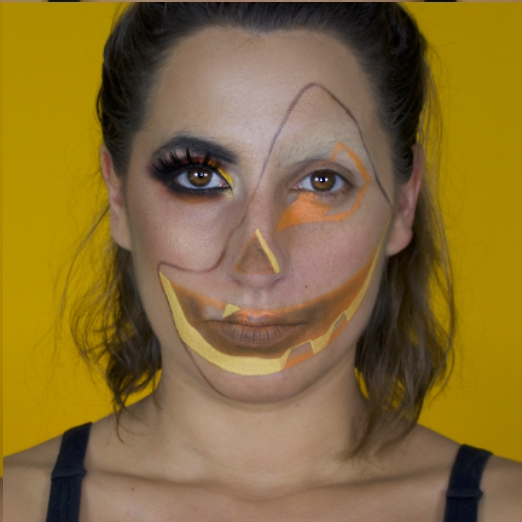
Now lets move on to the pumpkin side. You are going to start painting the main areas of Jack O Lantern. The nose, the eye and the big smiling mouth. With a pencil you can start drawing a triangle on your nose and any shape you want for the eye and mouth. You can copy mine or do a different one, its really up to you! You can have a toothless Jack or pointed teeth one… be creative!
Step 6
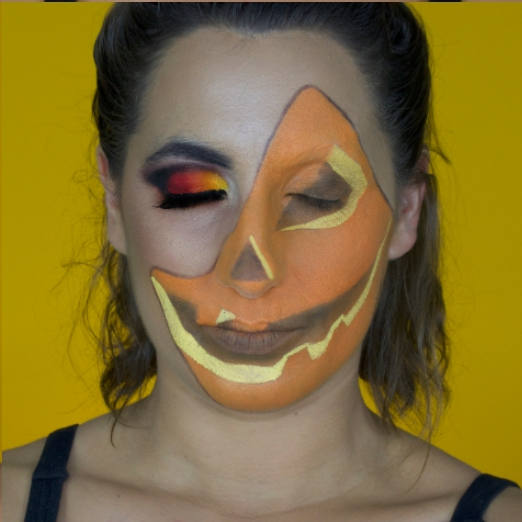
you will need three main colors for Jack : orange for the face / skin, brown for the darker areas and yellow for the lighter areas. The use of brown and yellow is going to give your pumpkin a three-dimensional effect.
Step 7
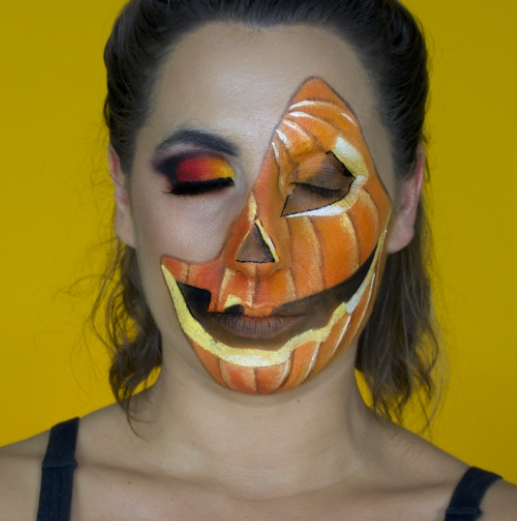
on this picture what I did is I used black eyeshadow to give more depth to the inside of the pumpkin and white to highlight and make it shine and look more real. I also used a dark orange eyeshadow and applied it over the orange paint to give more texture. For the lines on the pumpkin I used a detail brush and brown eyeshadow.
Step 8
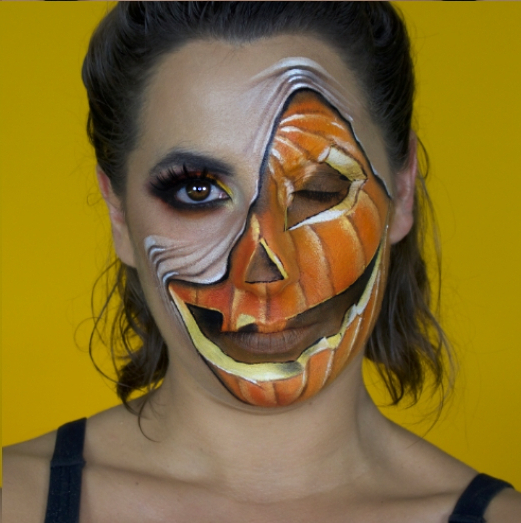
with a detail brush and brown eyeshadow you’re going to add fake wrinkles to your pulled up skin. To give more realism to the lines, add concealer in between each line and darken the middle of the lines with a black eyeshadow. Finally you can add a touch of highlight in the middle as well, this will make the wrinkles pop and look more real.
Step 9
you’re good to go trick or treat!
Video
If you feel like you need more help with this makeup, check out my youtube video and make sure you click that fat red subscribe button dear =) thank you !!!
Products
I’m now addressing all the makeup addicts in the world with the list of products I used for this makeup :
SKIN PREP
– Antipodes Skincare, Hydrating Day Cream, Vanilla Pod
PRIMER & FOUNDATION
– Nyx Professional Makeup, Eyeshadow base, white
– L’Oréal Makeup, Infaillible 24h fresh wear foundation, Radiant Beige
CONTOURING
– Nyx Professional Makeup, Highlight & Contour Pro Palette ; ‘Born To Glow’ Highlighting Palette
EYESHADOWS
– Nyx Professional Makeup Ultimate ‘Brights’ : https://amzn.to/2SGT7od
CRAYONS & LINERS
– Nyx Professional Makeup, Epic Ink Liner ; White Liquid Liner (I must warn you, this products is not the best, it cracks so you have to apply several layers… or find a better white liner, really ^^) ; Vivid Brights ‘Halo‘
PAINTS
– Mehron Makeup, AQ Paradise Palette White Clown

FINISH
– Mehron Makeup, Colorset Powder
– Nyx Professional Makeup, Dewy Finish Setting Spray
LASHES
– Arison Lashes, 3D False Eyelashes TD01
And that’s it guys ! I hope you enjoyed this tutorial =) let me know in the comments and if you want more Halloween makeup ideas, check out my 31 Days of Halloween Challenge page here !
See you soon !