I don’t know what the weather is like in your part of the world but it doesn’t feel like winter at all here in the South West of France, even though it’s February 5th and we’re normally freezing our asses off at this time of the year.
Actually it’s been so warm these last few days that me and my family have been able to enjoy our lunches outside on the terrasse, in t-shirts ! To think it used to snow when I was a child … but this isn’t an article about global warming, rest assured, although I do care about the planet and think we should be more gentle with it.
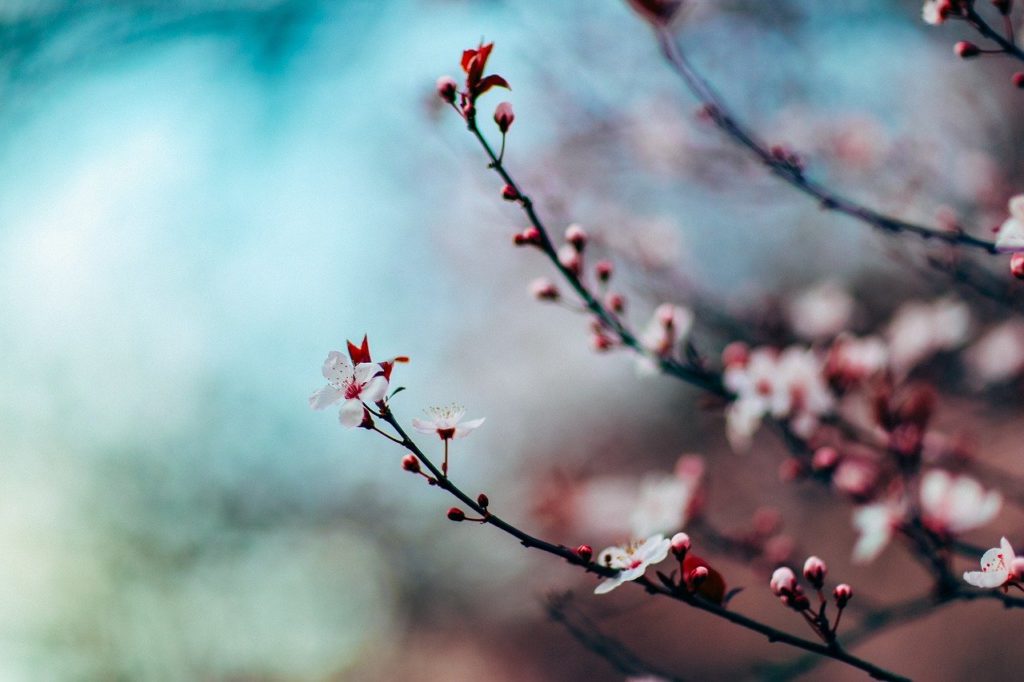
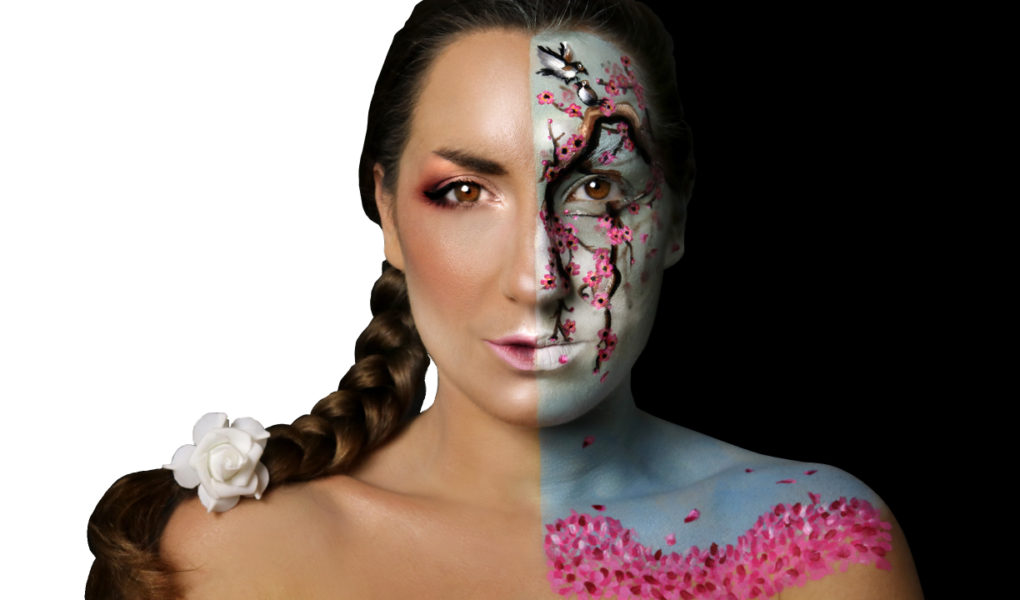
Anyhow, because I heard the cranes flying back here yesterday I decided to share one of my old Spring makeups, inspired by the ever so romantic and delightful Cherry Blossoms.
Step by Step
Here’s a little pictorial, to help you out if you’re going to recreate this look or do something similar =)
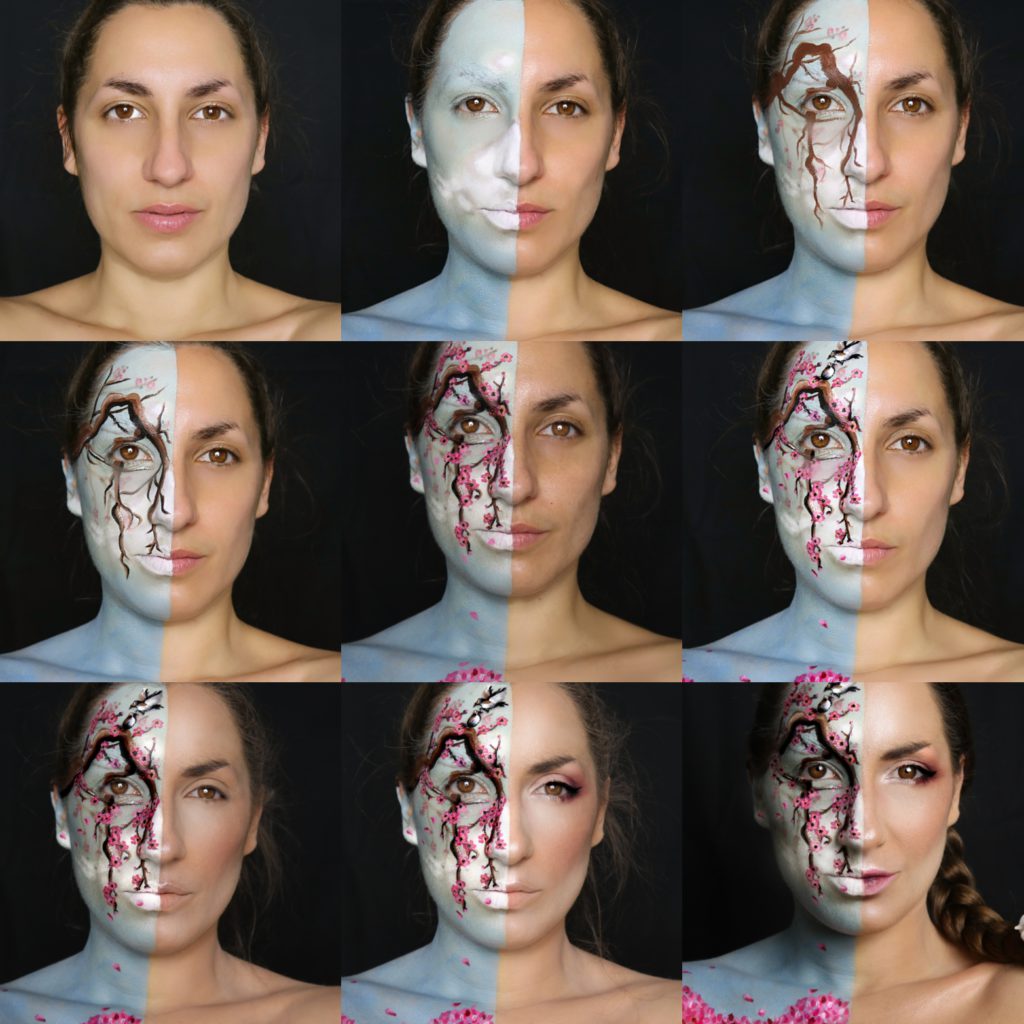
Step 1

be your beautiful natural self, and prep with your skin with moisturizer and primer (if you want the makeup to last longer, say for an event or for your own pleasure :D)
Step 2

So first of all, to get a straight (as straight as possible) line in the middle of my face, I used tape and put it on the side of my face that would have the beauty makeup on. Does that make sense? Once the tape was in place I simply followed its edge with a white pencil and once that was done, I removed the tape.
Then with a beauty blender I applied light blue paint all over the bodypaint part of this makeup. I worked on the sky color a little, to make it more realistic and give it more dimension, by adding a tiny little bit of yellow in the center, a medium blue eyeshadow on the lower part and white at the top.
For the clouds I used a foundation brush and white paint and I tapped the brush with the tip looking upwards, in order to get a nice fluffy looking cloud. Not sure I’m making sense but explaining how I do things has never been my strong suit lol
Step 3

With brown paint I added a cherry tree branch that goes over and around my eye. Make sure the branches arch and go down towards your mouth and as they go down make them thinner. Fill in the branches with brown and add all the smaller branches where the flowers will be blooming.
I tried to give more depth to the tree by making some of the branches look blurry in the background. To do that I used light brown eyeshadow instead of paint.
With pink eyeshadow I started adding the cherry flowers, the ones that are in the background.
Step 4

This step only consists in giving the branches more dimension by adding dark brown paint on the lower part. This way it casts a shadow on the branches and make them look more three-dimensional.
To reinforce the 3D effect I added a little bit of white paint on the opposite side of the dark brown paint, mostly on the rounder angles of the branches, where the light would shine the most (I think lol).
Step 5

With pink paint I added all the cherry blossoms. To give the petals more dimension and a wider range of colors, I used dark pink, yellow and white eyeshadows as well. And for the center of the flower I simply put a black dot, using a detail brush.
I added a few petals that are falling down the tree and resting on my chest, in a cushion of soft pink petals. I used different shades of pink paint for this, so it wouldn’t just look like a big pink uniform pile.
Step 6

Don’t forget to give more dimension to the falling petals by adding dark pink eyeshadow, light pink, yellow, white…
I added a couple birds, flirting on the top branch =). One of my favorite things about spring (besides life coming back) is hearing the birds sing.
Step 7

And now, the beauty side. I did my eyebrow a little, because they are lazy grower -_-. Or perhaps it’s my over tweezing… lol
I put on foundation, blush and highlight (on my cupid’s bow, tip of the nose, cheekbones and forehead).
Step 8

For the eye, I went with a romantic pink eye look that matches the flowers on the other side of my face. I’m wearing two shades of pink, a light and a dark one. The darker one is in the outer corner and the lighter one in the center of the lids. For the inner corner I blended white eyeshadow with the light pink eyeshadow.
I put on black eyeliner and black mascara.
I added a little bit of super light pink highlighter in the inner corner and on the bottom lid, up to the middle of the eye.
Step 9

For the lips I tried to do an Asian inspired lip style, which consists in a gradient, with the center of your mouth being darker than the edges.
I braided my hair and voilà !
Video
I couldn’t film the whole thing back then because I think I had to be somewhere and I was in a hurry but I did film the finished look and sorta edited the step by step pics together so it makes a little tutorial-ish ! 😉
Products
I did this makeup for a Mehron Spring contest and we had to use mostly Mehron products so here’s the list :
Performance :
- Mehron Makeup, Paradise Makeup AQ 30 Color Palette ; Clown White
Beauty :
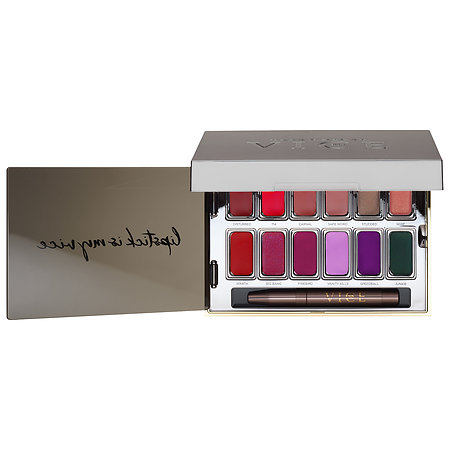
- Mehron Makeup, brazen Mascara ; 1927 Liquid Vinyl Makeup ; CHEEK Powder 8 Color Palette ; Celebré Pro-HD Pressed Powder 12 Color Contour/Highlight ; L.I.P Cream Palette
- Coastal Scents 252 Ultimate Palette
And that is it for today’s makeup, beautiful people ! I hope you enjoyed it =) Let me know in the comments what your favorite thing about spring is and if you want to see another Spring makeup check out this one ! Inspired by orchids and the majestic monarch butterfly !
See you soon with another tutorial ! 🙂
Love
